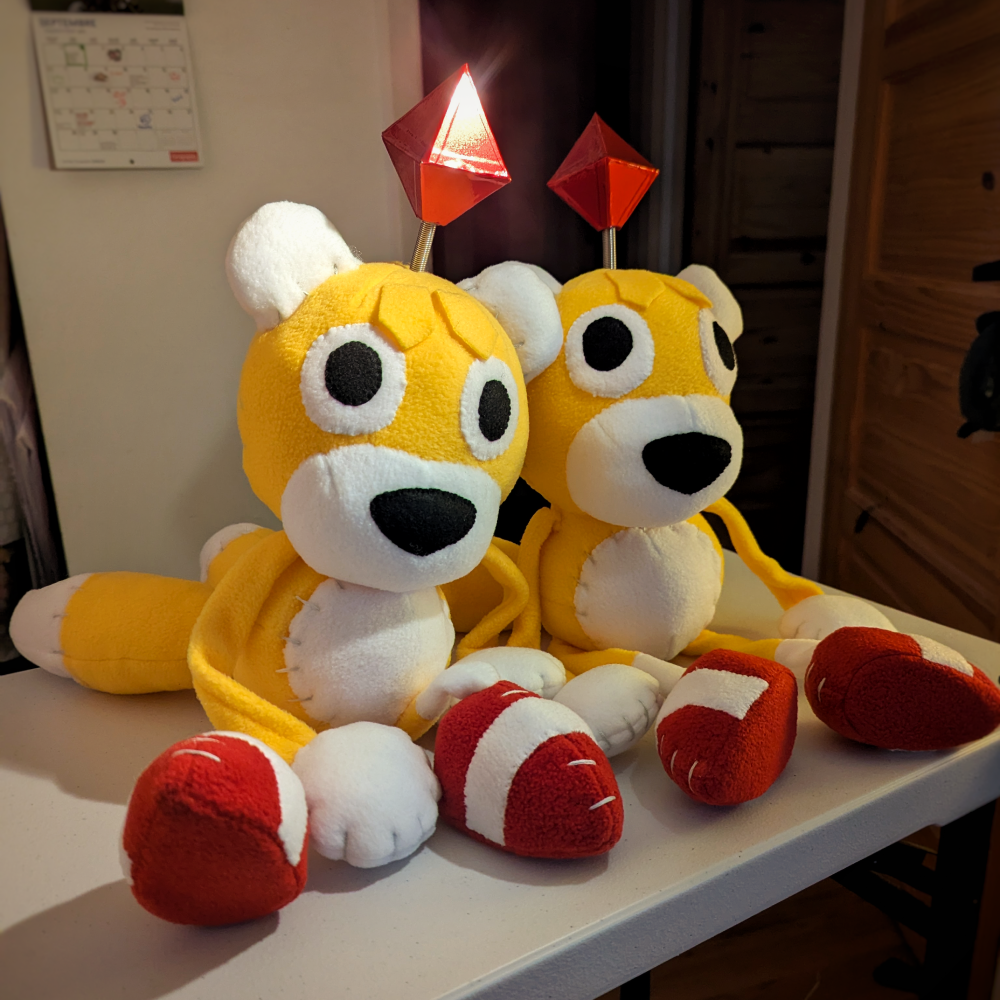
Tails Doll Plush Pattern & Tutorial
Want to make your own little Tails Doll? I converted my pattern to a printable digital format, free for all to use! My only request is to please not sell the pattern or use it to mass produce; though making this plush for yourself, your friends or commissions is all fine to me! (Credit is appreciated, too!) I'd consider this pattern intermediate, best suited for people with a bit of sewing experience. Instructions on how to assemble are featured below.

Materials List:
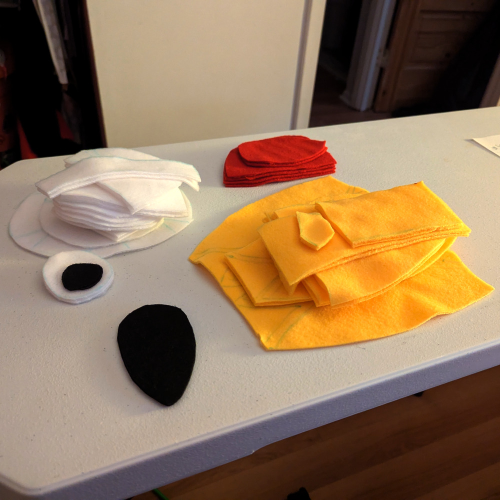
- Fabric in the following colours: Yellow, White, Red, Black. Fleece or Minky preferred. This pattern does not require a lot of fabric; half a meter of yellow, a quarter meter of white, and scraps or red and black should be more than enough.
- Matching sewing thread
- Embroidery floss in white or gray
- One 25cm Zipper in silver or gray
- Polyester Stuffing
- One 6cm long Spring OR some 16g Aluminum wire
- A 30cm sheet of plastic, such as Foam PVC or ABS (if making solid gem)
- Red Car Vinyl OR Red paint (if making solid gem)
- Hard Felt (Optional, any colour)
Tools:
- Sewing needles (regular and large embroidery sizes)
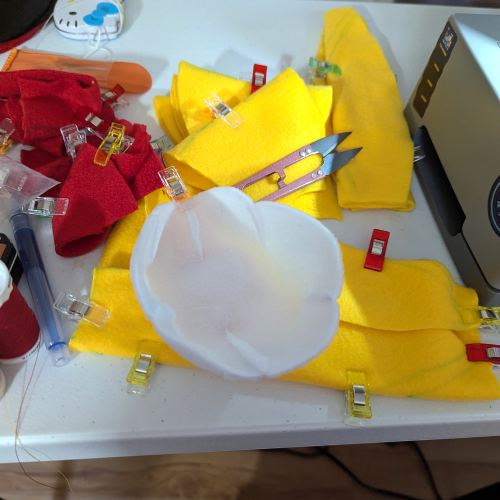
- Sewing pins and clips
- Scissors
- Hot Glue
- Wire Cutters (for aluminum wire)
- Utility or Hobby knife (for plastic sheet cutting)
- Sewing Machine (Optional)
- Fabric chalk or washable fabric pen (Optional)
Instructions
1. Download the PDF Pattern HERE.
2. Print the pattern out. The pattern should fill the whole page with no margins! The PDF format is A4, though this pattern is easily adapted to US Letter format and may, at most, only slightly trim the pattern on a piece or two. This is easily fixed by re-adding the lines by hand. Make sure to remove any margins added by the printer software; if you don’t, the plush will turn out a little smaller.
3. Cut all pattern pieces out. Pay attention to the amount listed per pattern piece, if pieces should be mirrored, and the seam allowance marked on certain parts (marked in blue). Pay also close attention to the arrows denoting the fabric’s pile/nap and align accordingly. Select whether you want to make the diamond out of fabric or solid material and pick the matching pattern piece accordingly.
4. Pin down and sew all the darts on every piece, using the seam allowance and aligning with the dot at the end of each dart on the pattern. (These are present on the Head Front, Head Back, Body, Belly, Muzzle, Tail Tip, and Shoe pieces.)
5. Attach each Leg to a matching Sock part on side marked with A, right sides together. Fold each resulting piece lengthwise, right sides together, and sew the tube closed to complete the legs. Turn right side out and set aside.
6. Take each Arm piece and fold them lengthwise, right sides together. Sew the tubes closed and turn right side out and set aside.
7. Take two pieces of Hand, right sides together, and sew them closed, leaving the marked space open. Turn right side out and stuff it with polyester filling. Repeat with second hand. Set aside.
8. Take two pieces of Shoe, right sides together, and sew them closed along the heel and top, leaving a small opening between the heel dart and top (see pattern markings). Repeat for second shoe.
9. Take a Sole piece and pin in to an assembled Shoe piece, right sides together, aligning the tips of each pieces. Sew the Sole piece to complete the base shape of the shoe. Repeat for second shoe and turn them right side out. Add a small piece of hard felt inside the shoe if desired to straighten out the bottom (use the Sole pattern and trim as needed). Add stuffing to shoes.
10. Take each Shoe Strap piece and top stitch it on top of each Shoe, using the top of shoe dart as a guide to align the top of the shoe strap. Set the completed shoes aside.
11. Take two pieces of Ear, right sides together, and sew them along the curved top part. Repeat for second ear and turn both right side out and stuff lightly. Set ears aside.
12. Take a Tail Tip and sew it, right sides together, to its matching Tail Base part on the side marked with D. Repeat three other times with remaining pieces. Take the resulting tail pieces and pin a matching mirrored pair right sides together,and sew along the entire tail from tip to base, leaving the base open. Repeat for second tail. Turn each tail right side out and add stuffing. Set tails aside.
13. Take two Body pieces and pin them right sides together. Sew along one of the sides. Repeat for the second pair of body pieces. Take the two sphere halves and pin along one of the edges and sew together, leaving the last quart open. This will be the back opening where we fit the zipper on.
14. Take the Head Front Piece and pin, right sides together, the Head Back pieces along each side marked with E. sew both sides to the front piece, leaving a tiny opening at the top where all the pieces meet. We will be inserting the antenna through this hole later. Sew the back of the head alongside F from the top down to the “zipper top start” mark on the pattern.
15. Pin the head to the body along the neck, right sides together. Take care to align the front body seam to the center front dart of the head. Sew through to attach the head to the body. Turn piece right side out.
16. Pin the zipper to the head-body, starting at the zipper top start line on the head. Star by pinning one side of the zipper while keeping it closed to prevent misalignment. Once the zipper reach the bottom, pin alongside the opposite half, folding the seam allowance inwards as you pin. Once the zipper is pinned in place, begin sewing the zipper to the plush by hand, opening the zipper as needed to reach inside. (You can also lightly stuff the plush during this step if you need some help aligning the zipper.)
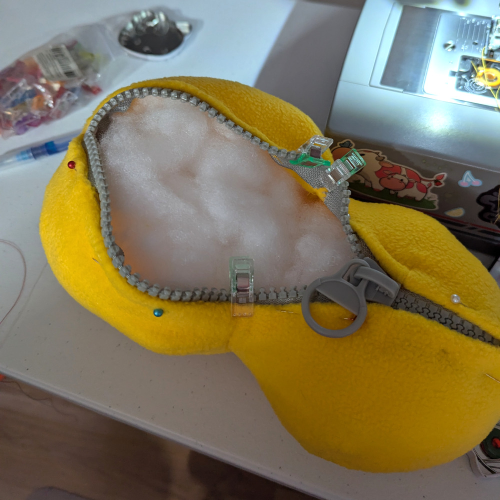
17. Once the zipper is securely attached, ladder stitch the remaining opening on the back under the zipper closed. Finish stuffing the plush now to desired level.
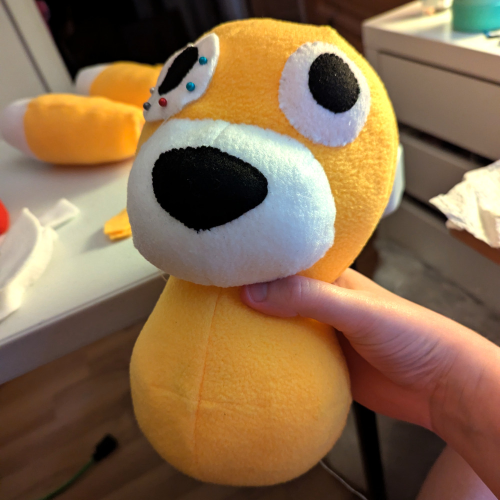
18. Topstitch the Nose to the muzzle, then, using a ladder stitch, add muzzle to the face.
19. Topstitch one Pupil to each Eye piece. Topstitch the completed eyes to the face.
20. Topstitch the Belly to the front of the body, using the belly darts and center body seam to help align it.
21. Pin each Hair to the forehead and sew by hand along the top line. Leave the other sides unsewn to let them flop.
22. Pin the Ears to the head, using the side seams to align. Ladder stitch the ears to the head.
23. Using embroidery floss (or your preferred alternative method), add all decorative stitches to the following parts; head side seams, the ears to head seams, the belly seam, the hands seams, the top of shoes seam, and the tail tip to tail base seam. Use a reference image if needed.
24. Take a shoe and hand sew it to a leg by the sock (C), aligning it to the shoe hole . Repeat with the other shoe to complete your set of legs. Leave the legs unstuffed. Set aside.
25. Take a hand a hand sew it to an arm (B), aligning it with the wrist hole. Repeat with the other hand to complete your set of arms. Leave the arms unstuffed. Set aside.
26. Take the tails and attach them to the lower back, right under where the zipper ends. Ladder stitch to body by hand.
27. Pin the arms and legs to the body and ladder stitch them by hand. The plush elements are now complete.
28. If building the antenna gem out of fabric, simply sew two mirrored Diamond piece, base to base, to create four pieces. Pin and sew them lengthwise, right side together, leaving a small opening at the end to turn it right side out, stuff, and then ladder stitch it closed, leaving a small hole at one point of the diamond gem.
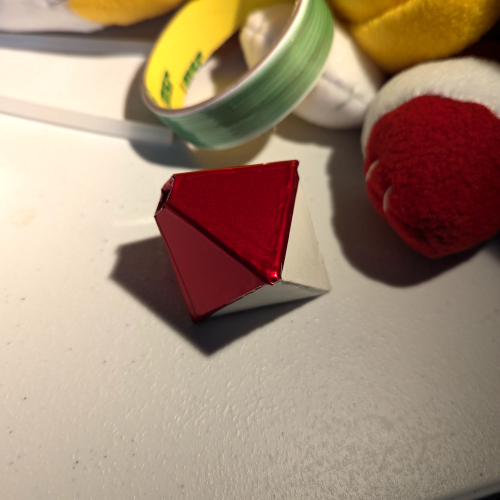
29. If building the antenna gem out of plastic or another solid material, take four pieces and glue them, side to side, to build a square pyramid. Repeat the process to create a second pyramid. Take the two pyramids and glue them, base to base, to create the base shape of the gem. Cut a small hole on one hand using your knife. Colour your solid gem using your preferred method, such as covering with adhesive vinyl or paint.
30. Take your spring or aluminum wire and create a small flat base on one end of the antenna, approx 3cm in diameter. You may use whatever scraps you have on hand, such as plastic or cardboard, and glue it down.
31. Take the plush, open the back zipper, and thread the antenna from the inside so that it sticks out the top of the head. The base should prevent the antenna from slipping out of the head. Close the zipper.
32. Add hot glue to the end of the antenna and insert it into the gem’s hole adding some extra glue along the edge to secure it in place.

And with that, you're done! One little spooky guy added to your home. This is my first time writing down my (admittedly chaotic) process into a set of instructions to follow, so please excuse any weirdness and enjoy making your own Tails Doll!